
I recently saw an article that teaches you how to make a very simple hologram with a bit of plastic and a phone. I’ve always been fascinated by holograms, so I decided to make one for my girlfriend as a little gift and have a bit of fun in the process.

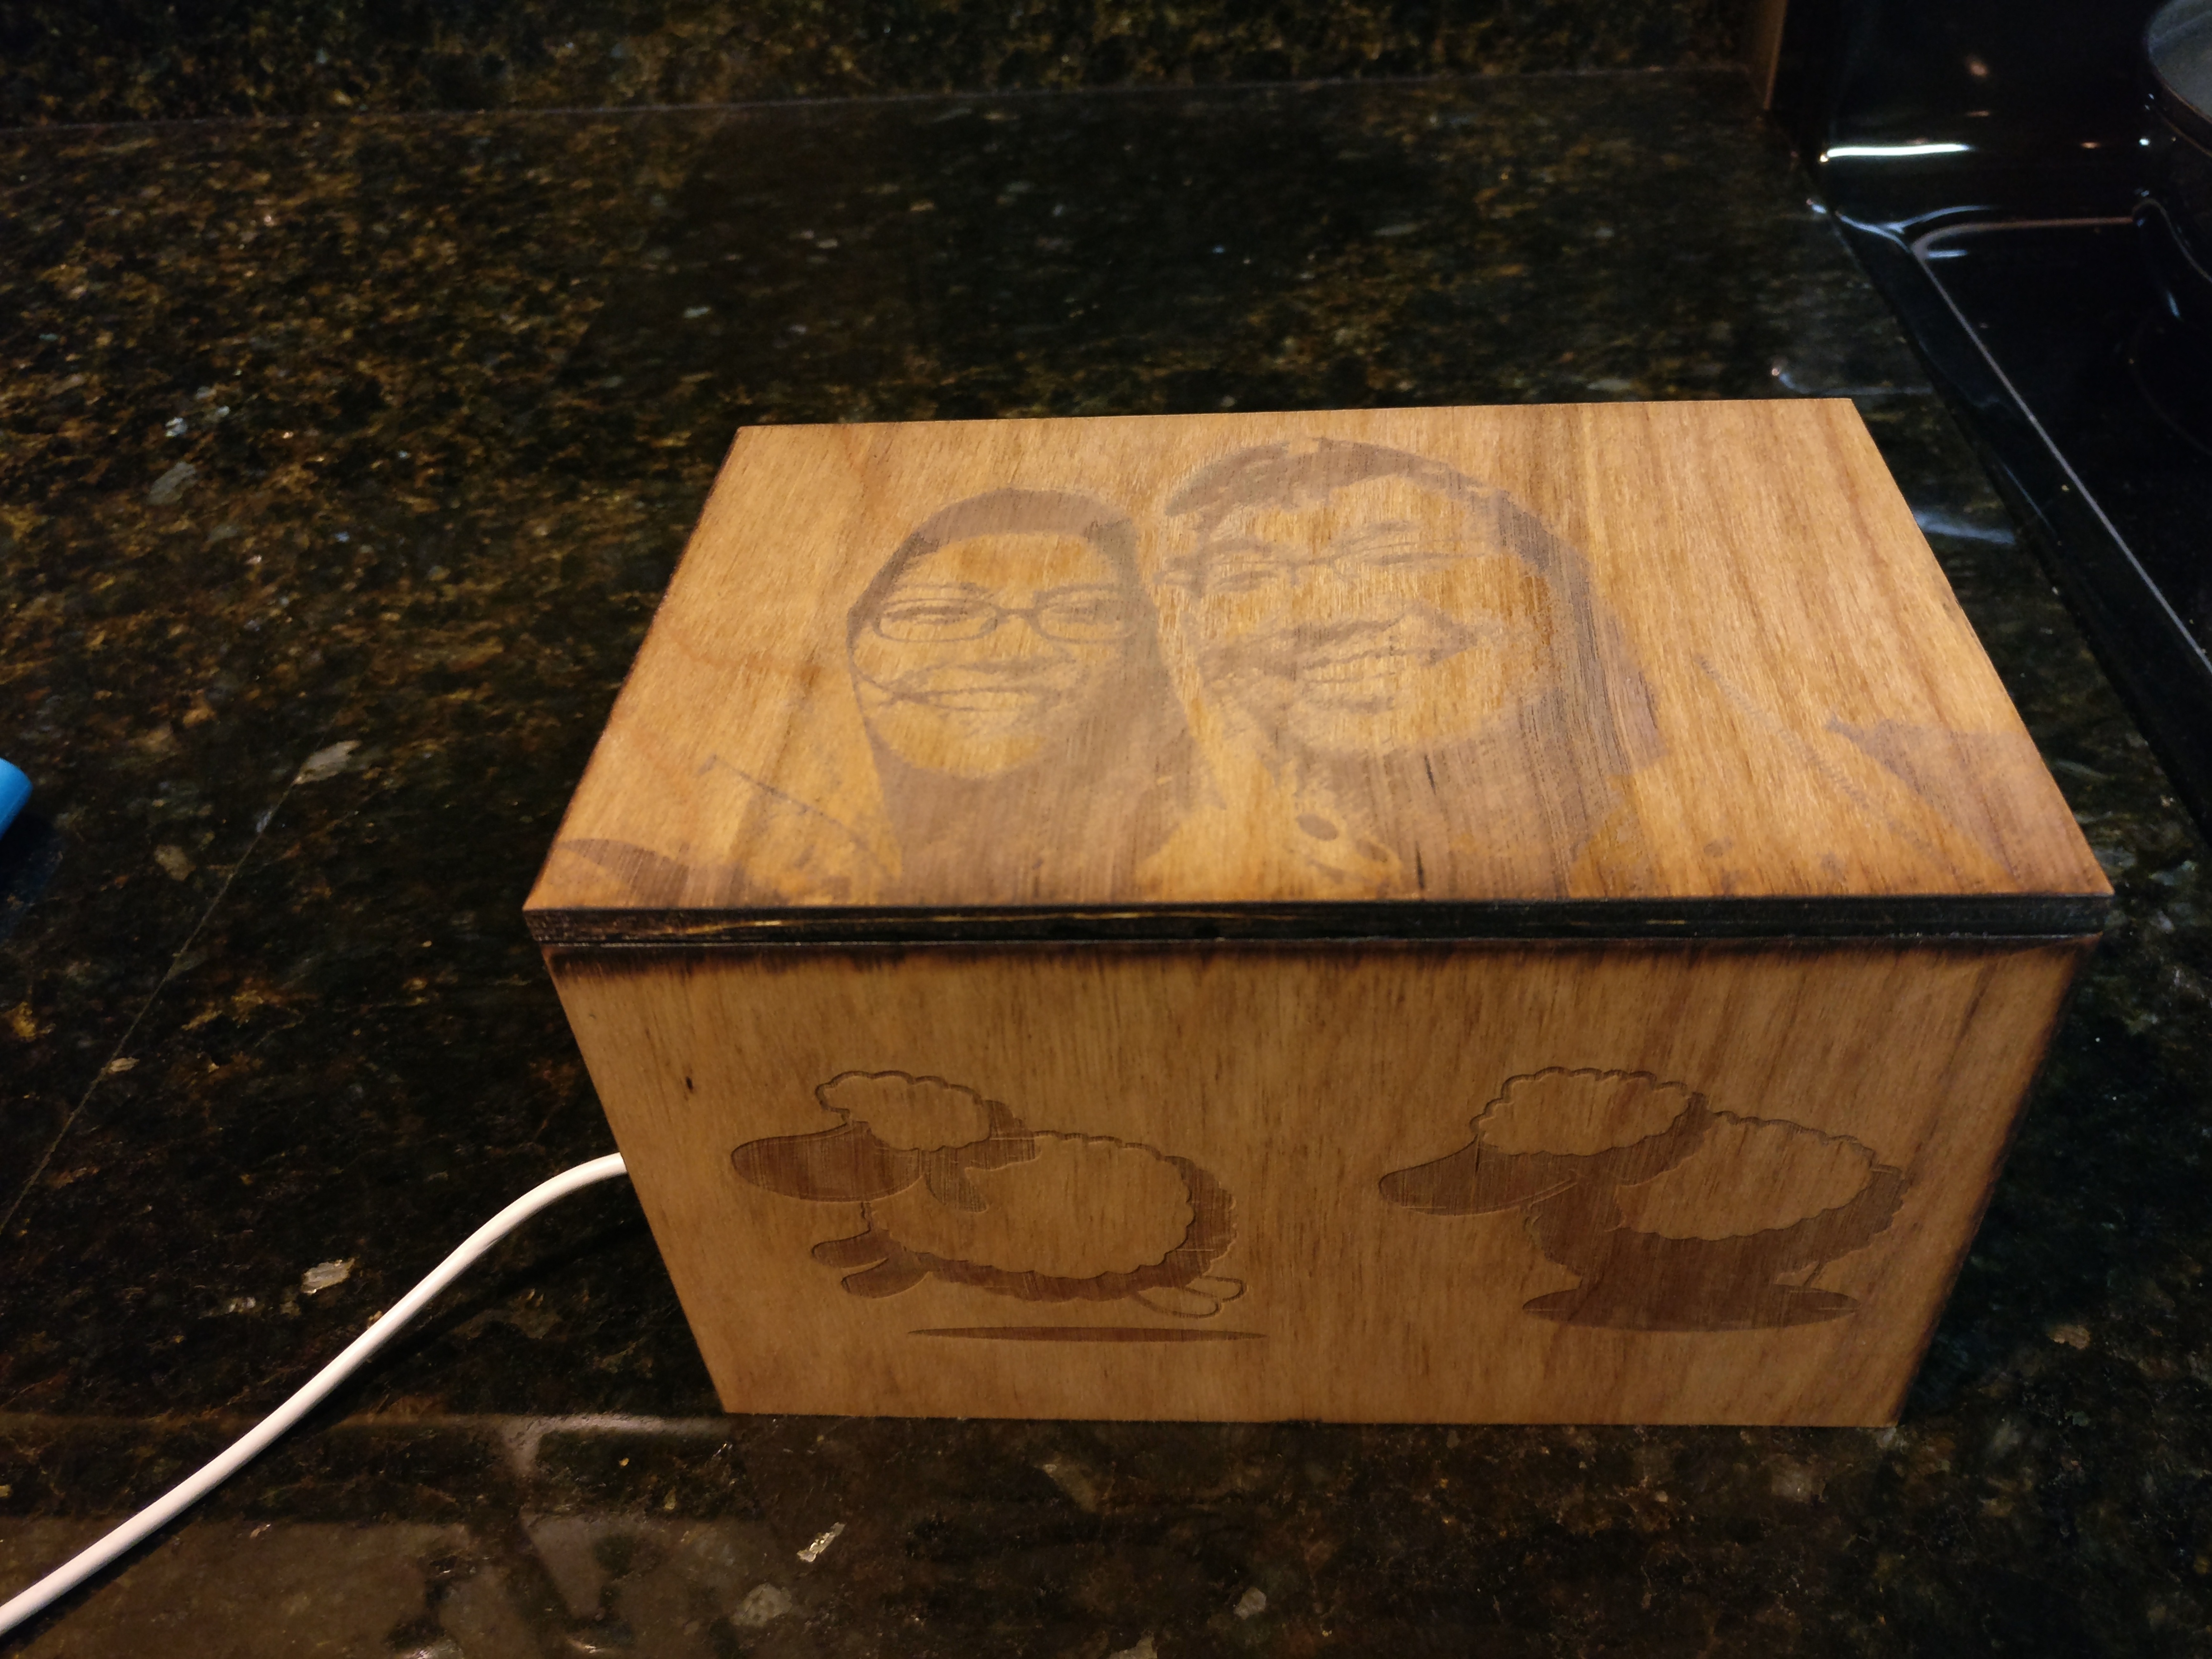
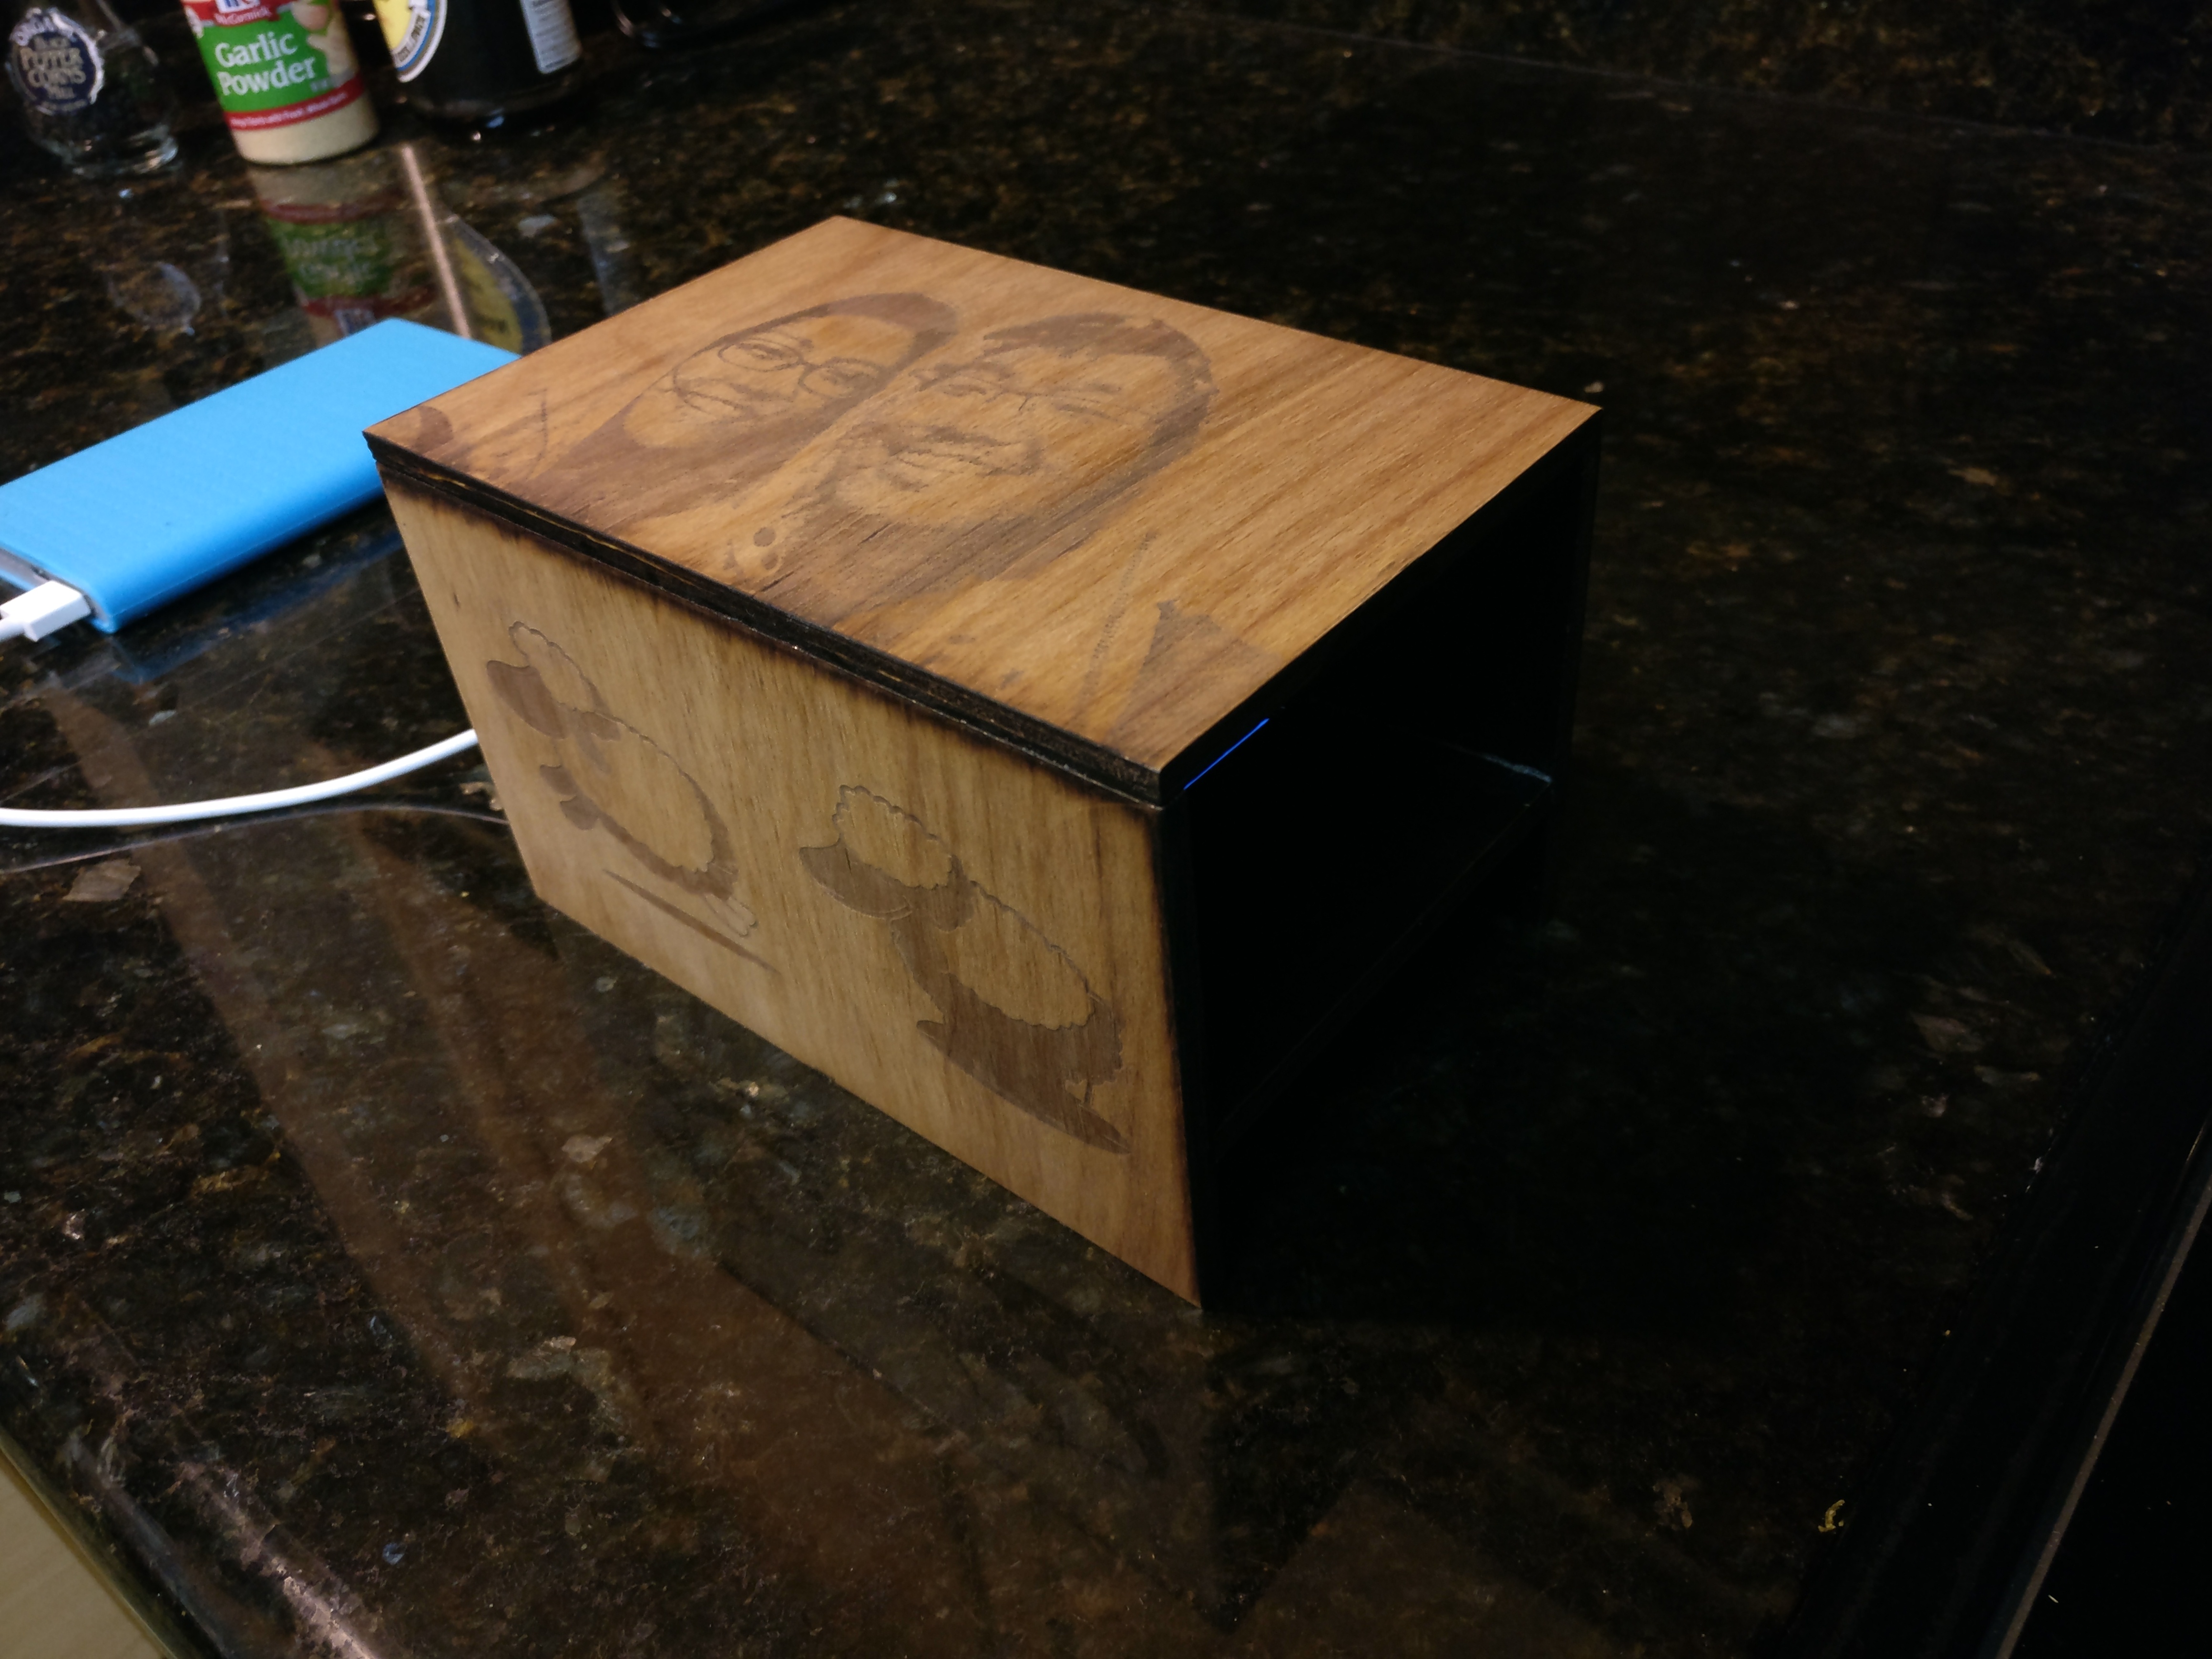
The final result can be seen below.
And here it is under normal light conditions.
I’ve detailed the process below. Hopefully, it’ll help people who might be doing similar projects.
Materials
- 0.2in / 5mm Birch Plywood
- 0.04in / 1mm Acrylic Sheet
- Raspberry Pi Zero module
- 3.5inch TFT LCD Display
- Gorilla Wood Glue
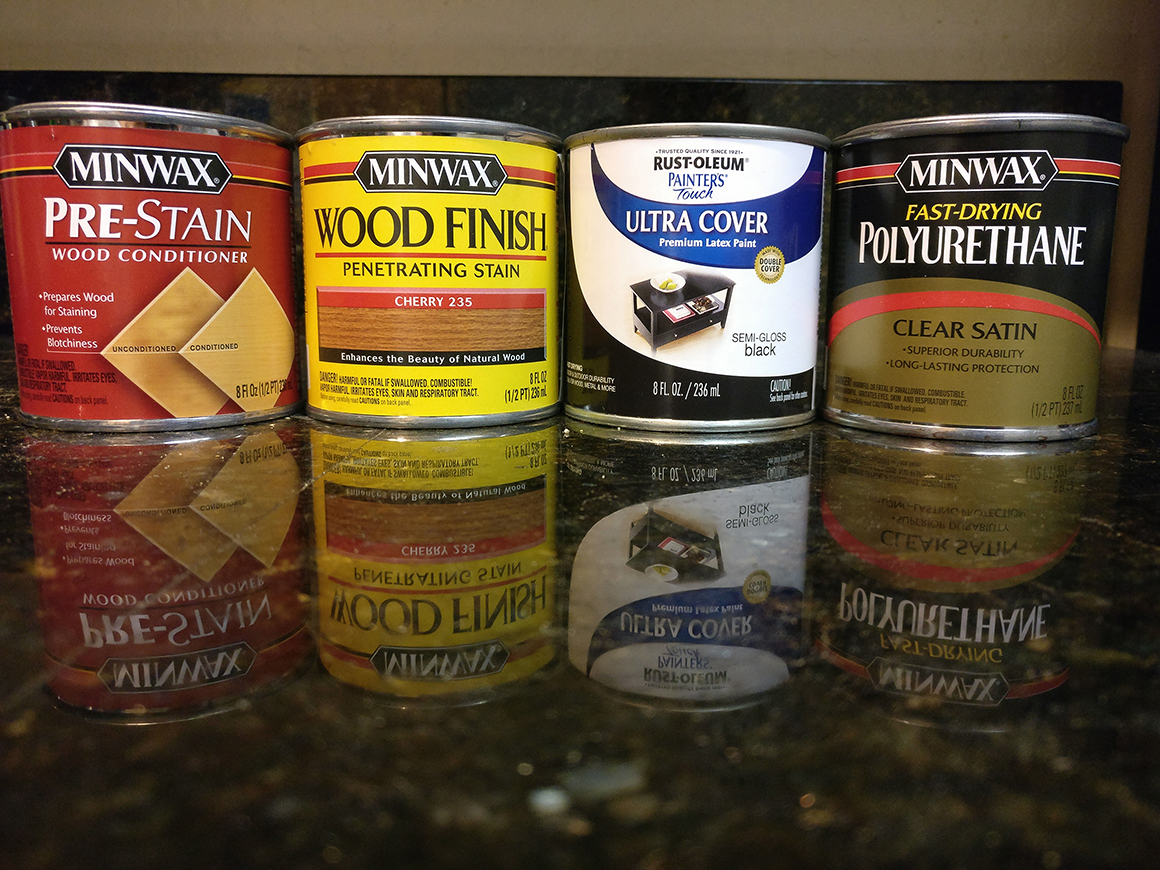
Finishing
- Rust-Oleum Semi-Gloss Black Paint
- Minwax Fast Drying Polyurethane Satin
- Minwax Wood Finish Penetrating Interior Wood Stain, Cherry
- Minwax Pre-stain Wood Conditioner
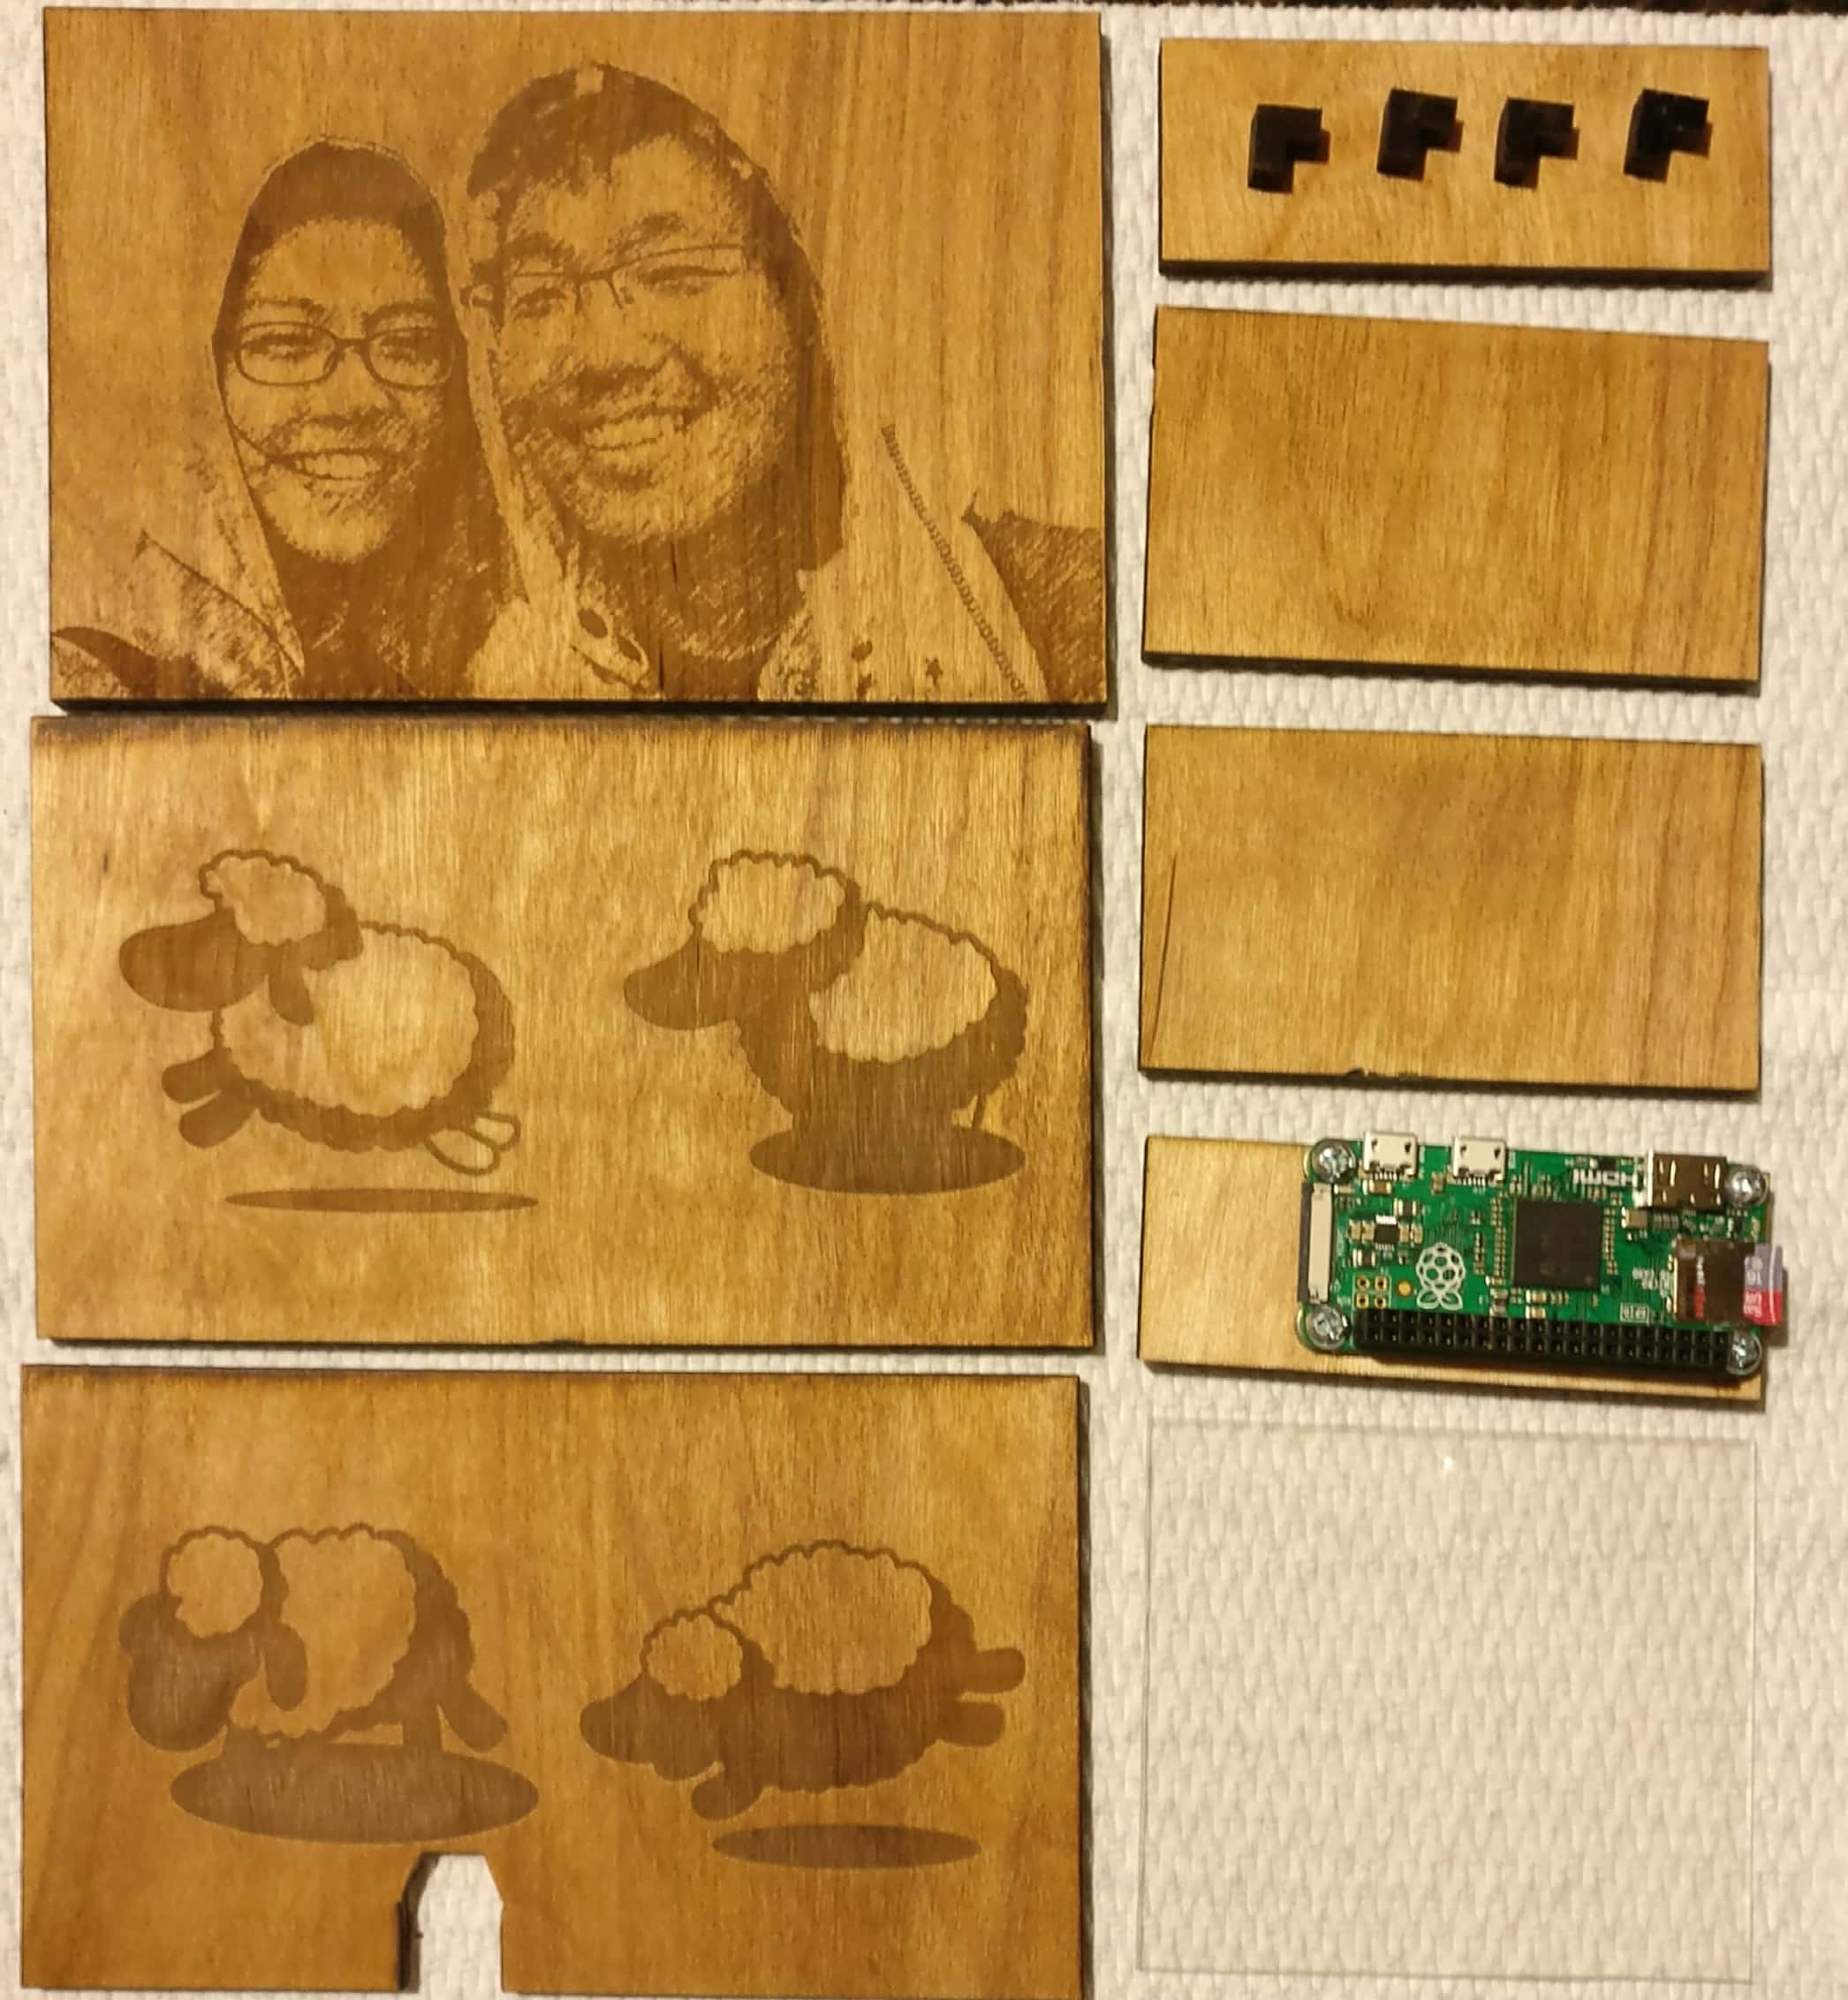
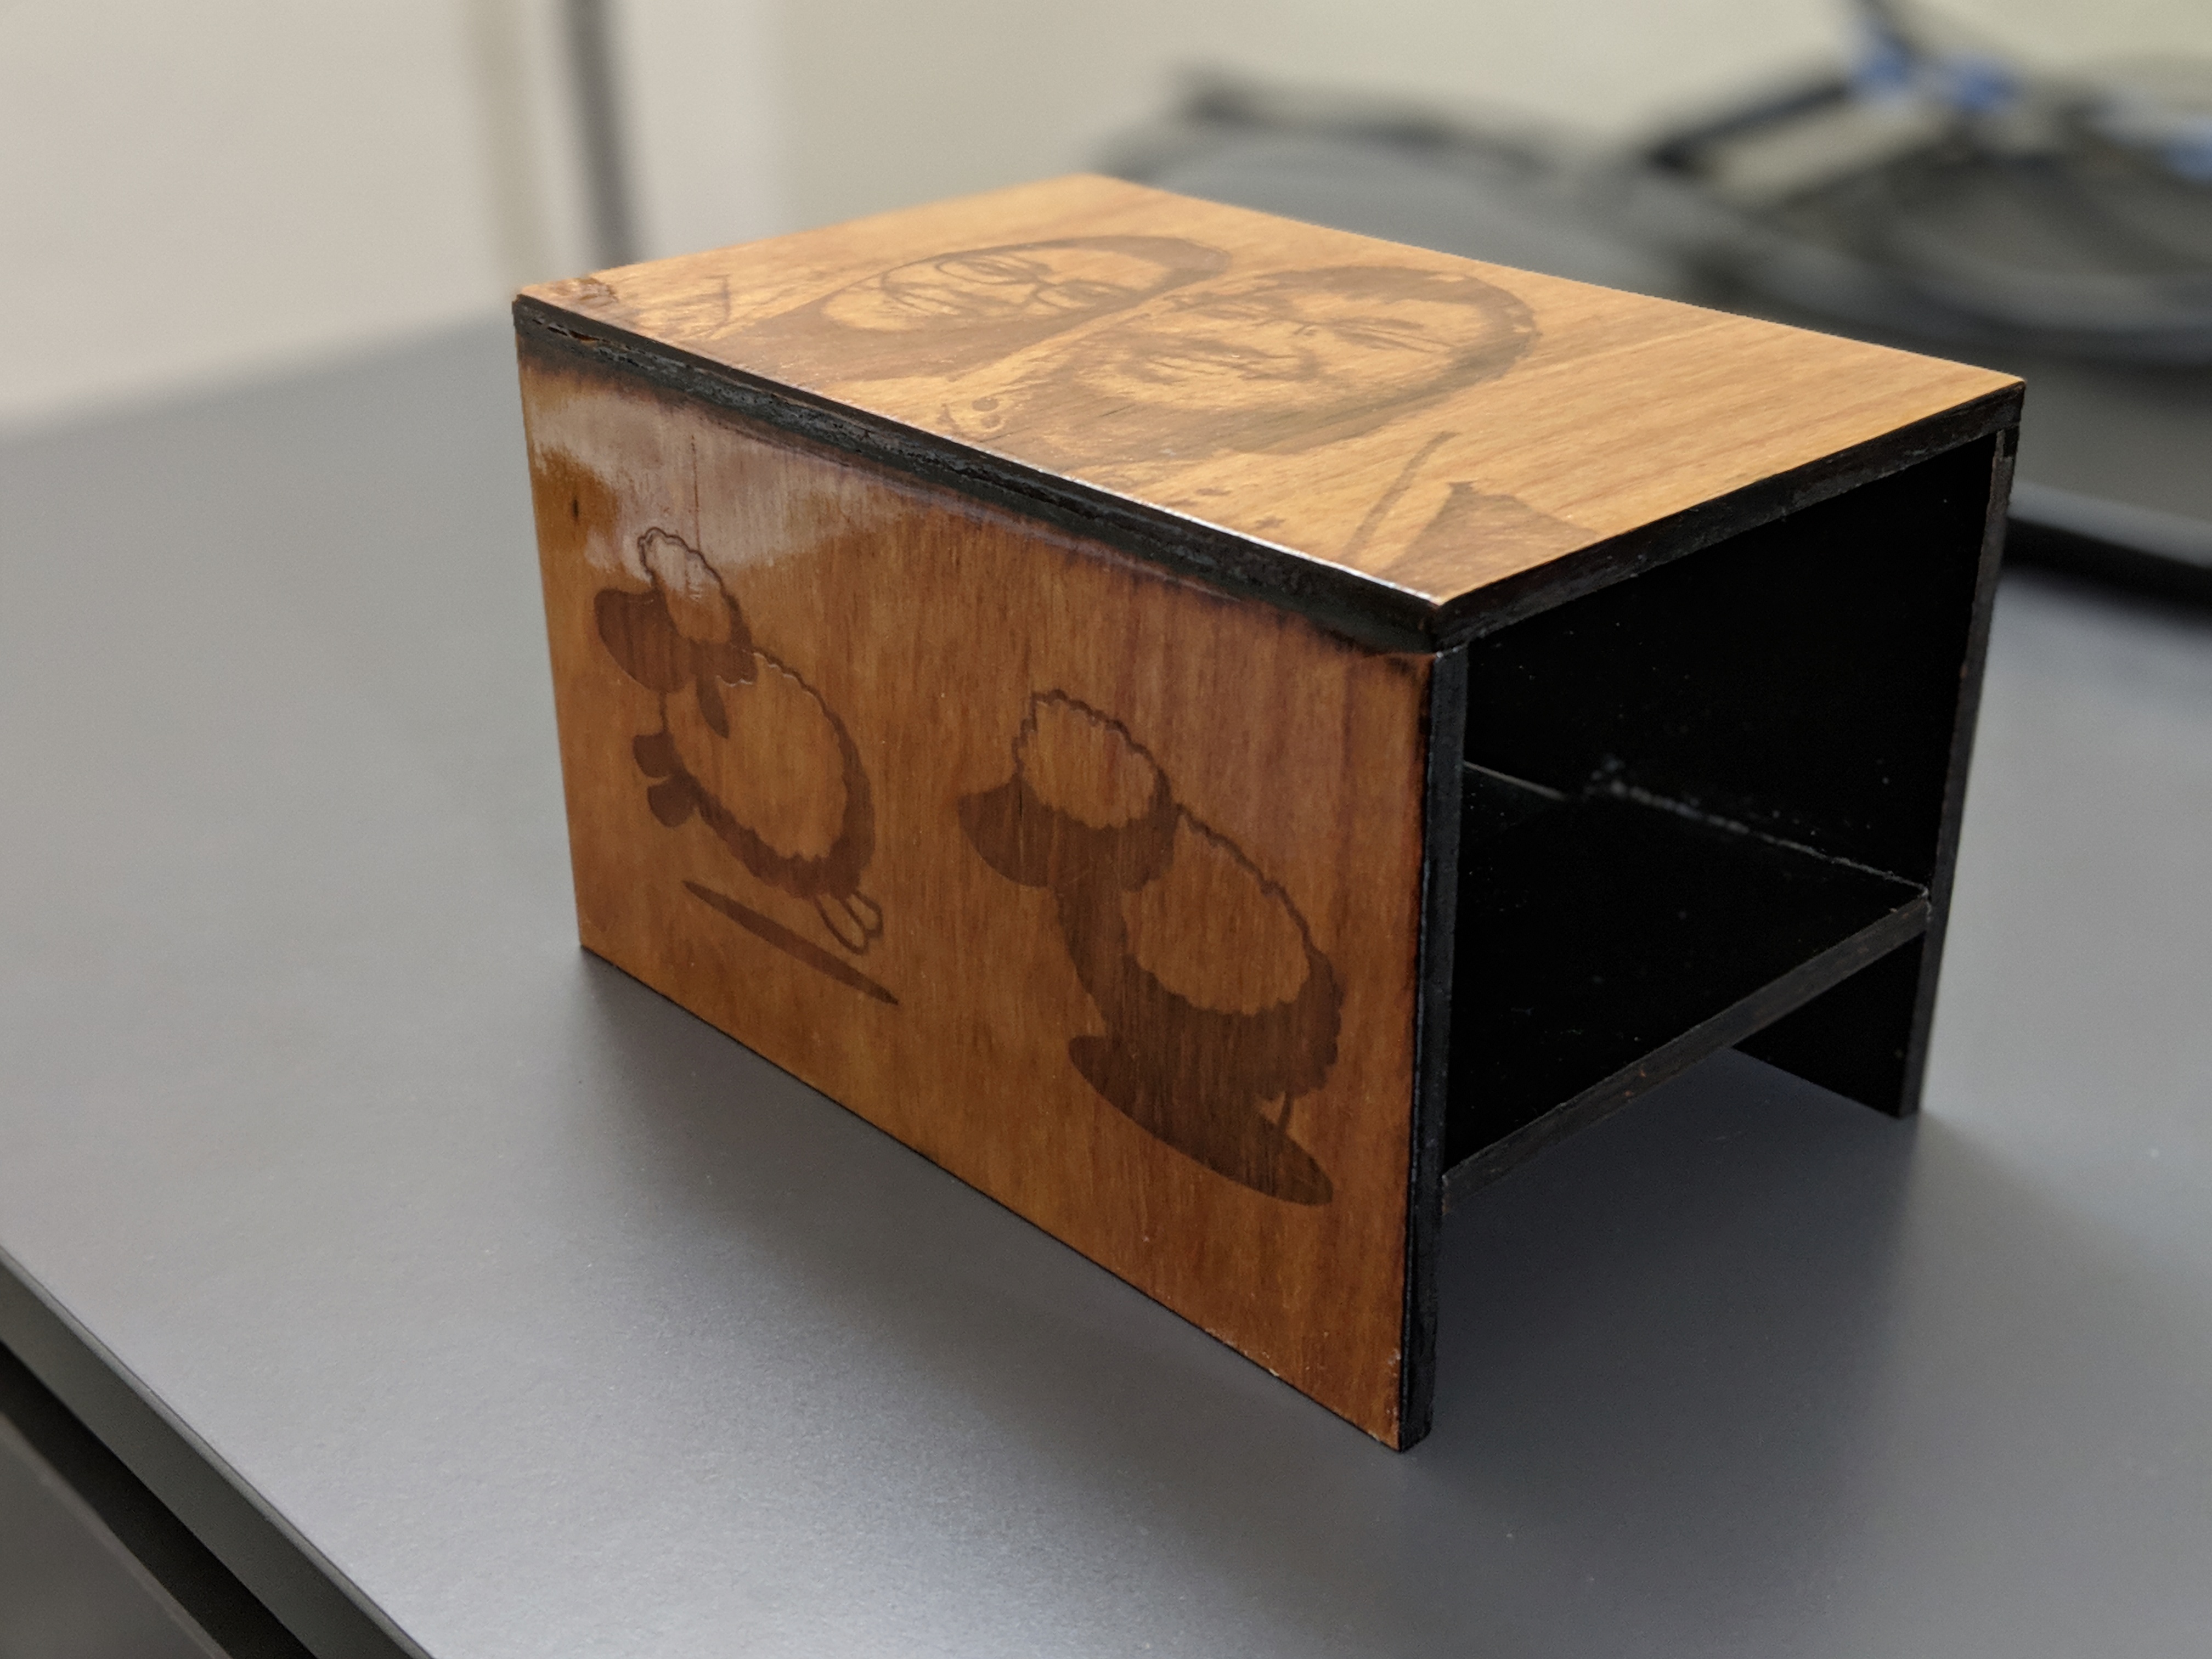
1) Laser Cut the Box
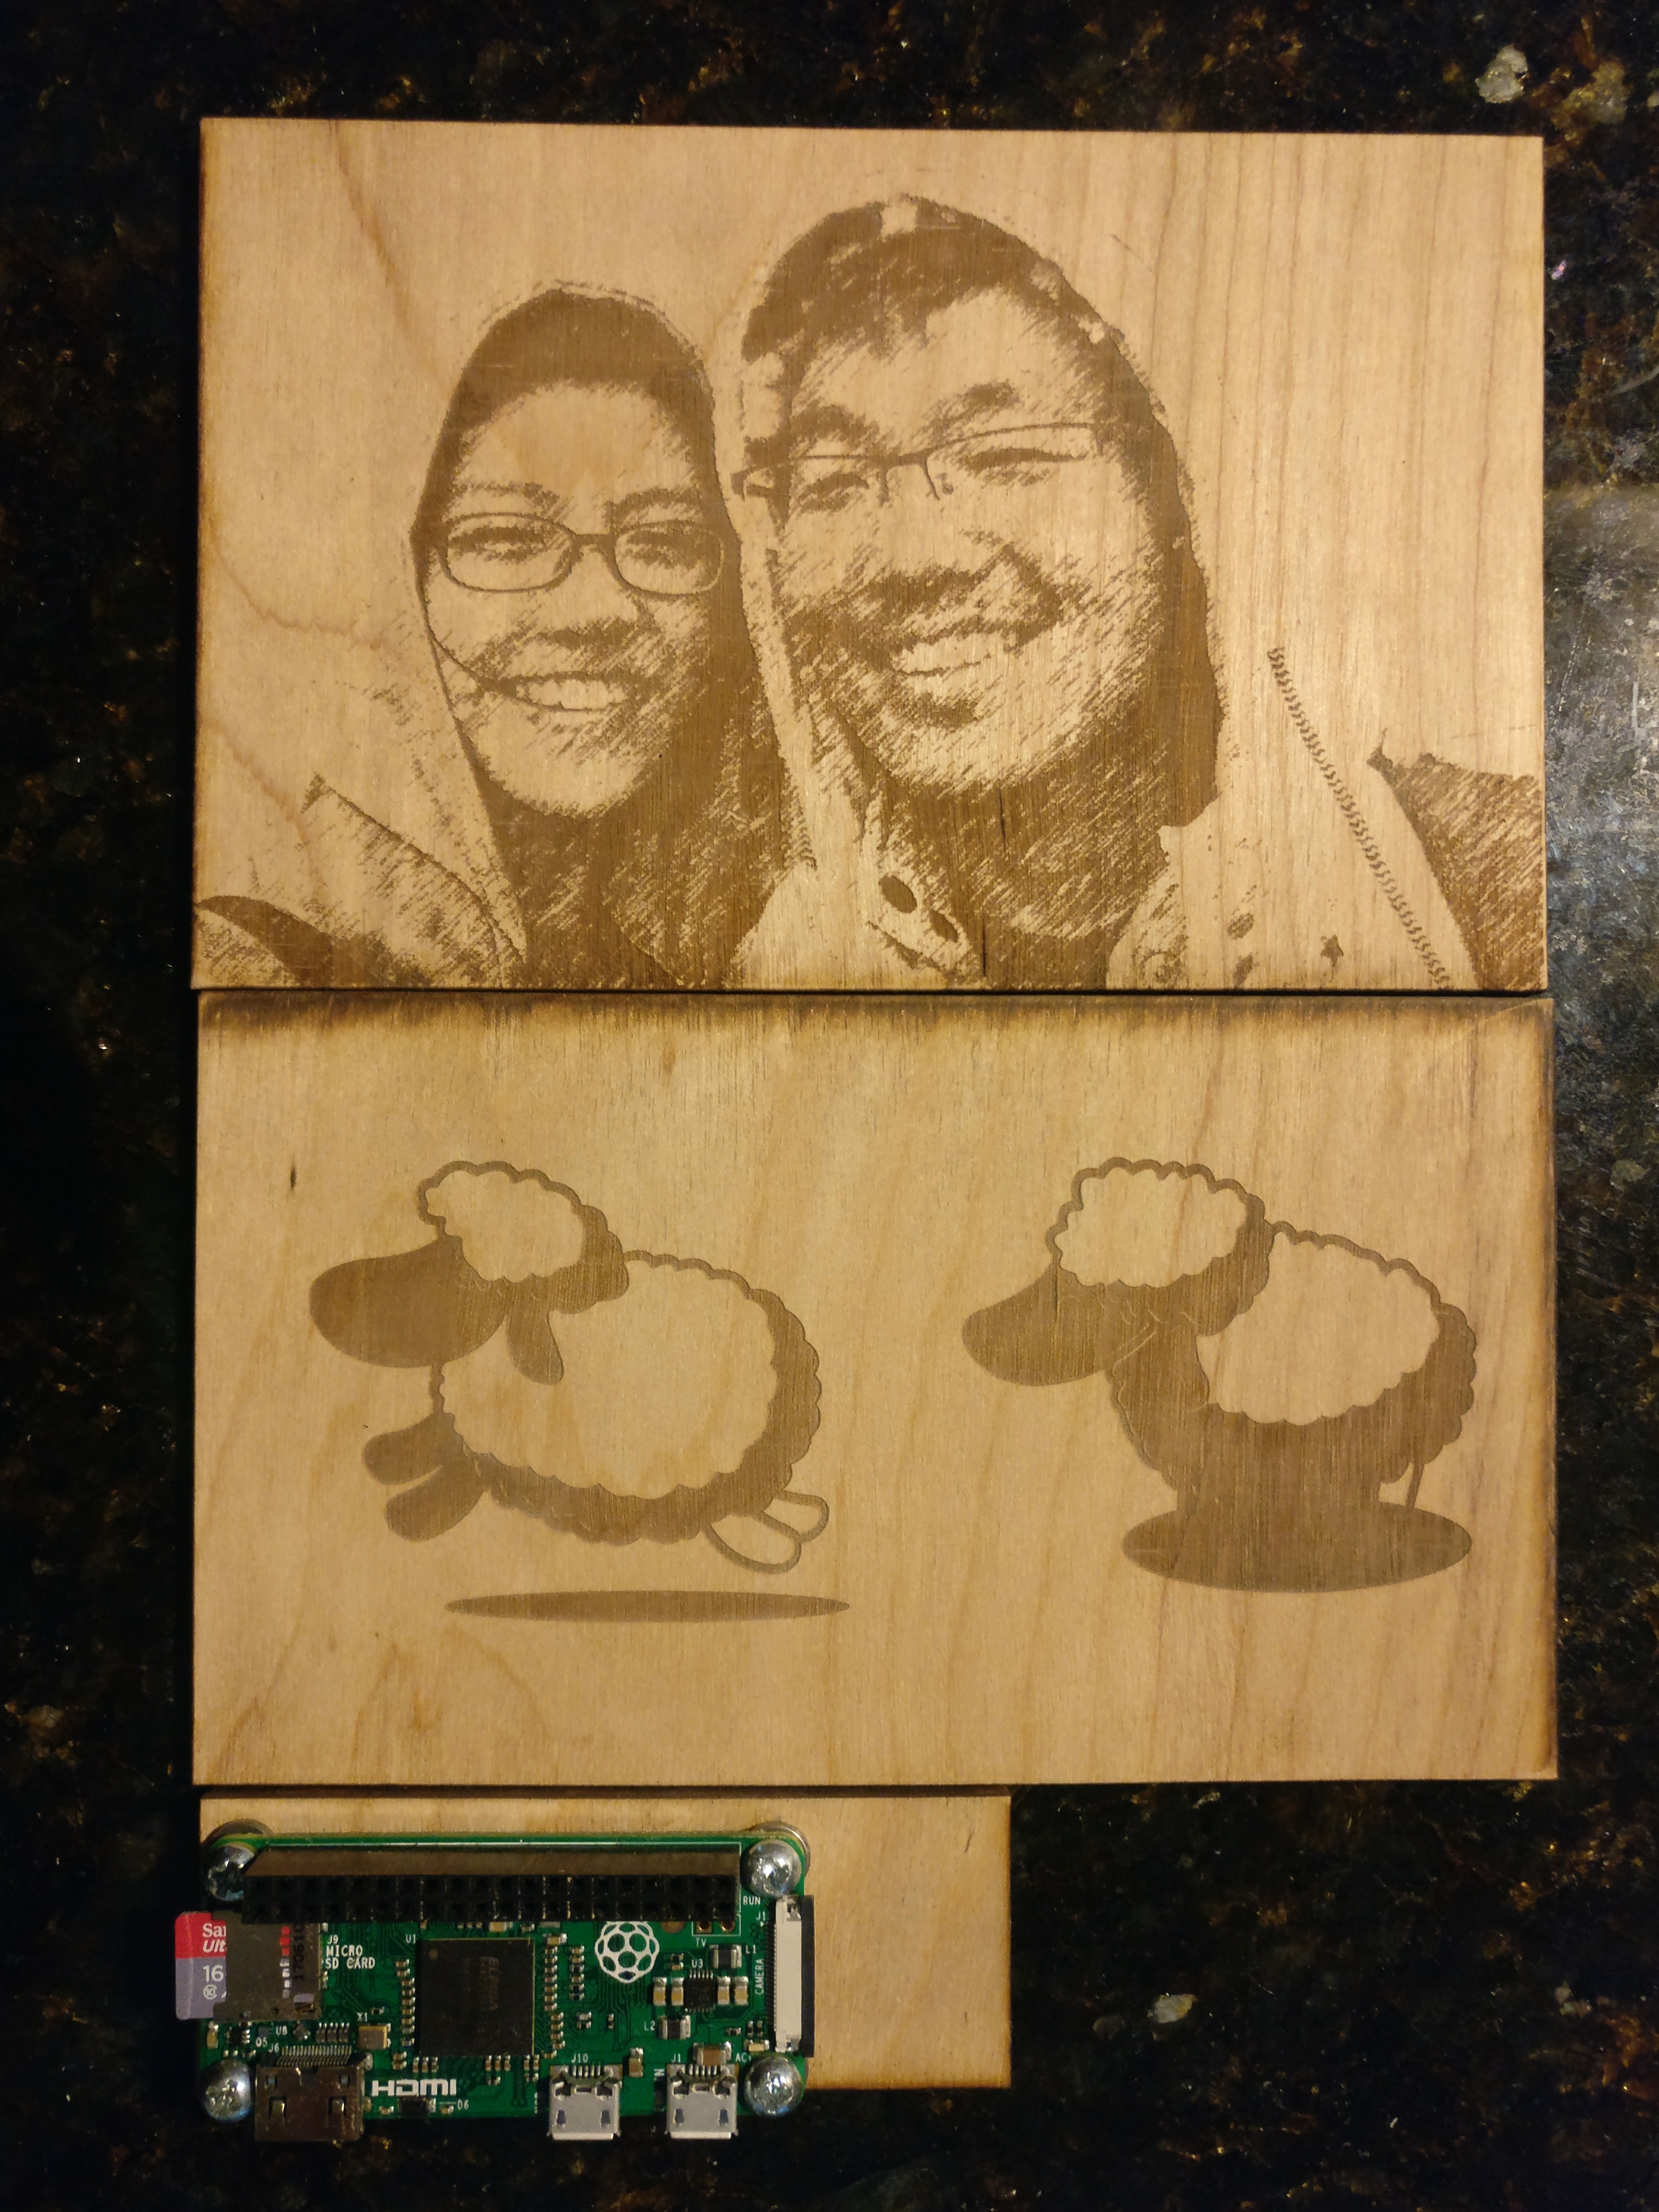
The first step is to measure and set the dimensions of the box. I wanted the box to be shaped like a tube so that minimal amount of light will enter it from both the front and the back to prevent interference. The Raspberry Pi will be mounted on a center piece flanked by two pieces of wood on either side. The acrylic piece which reflects the LCD screen will be held by little wood angle brackets.

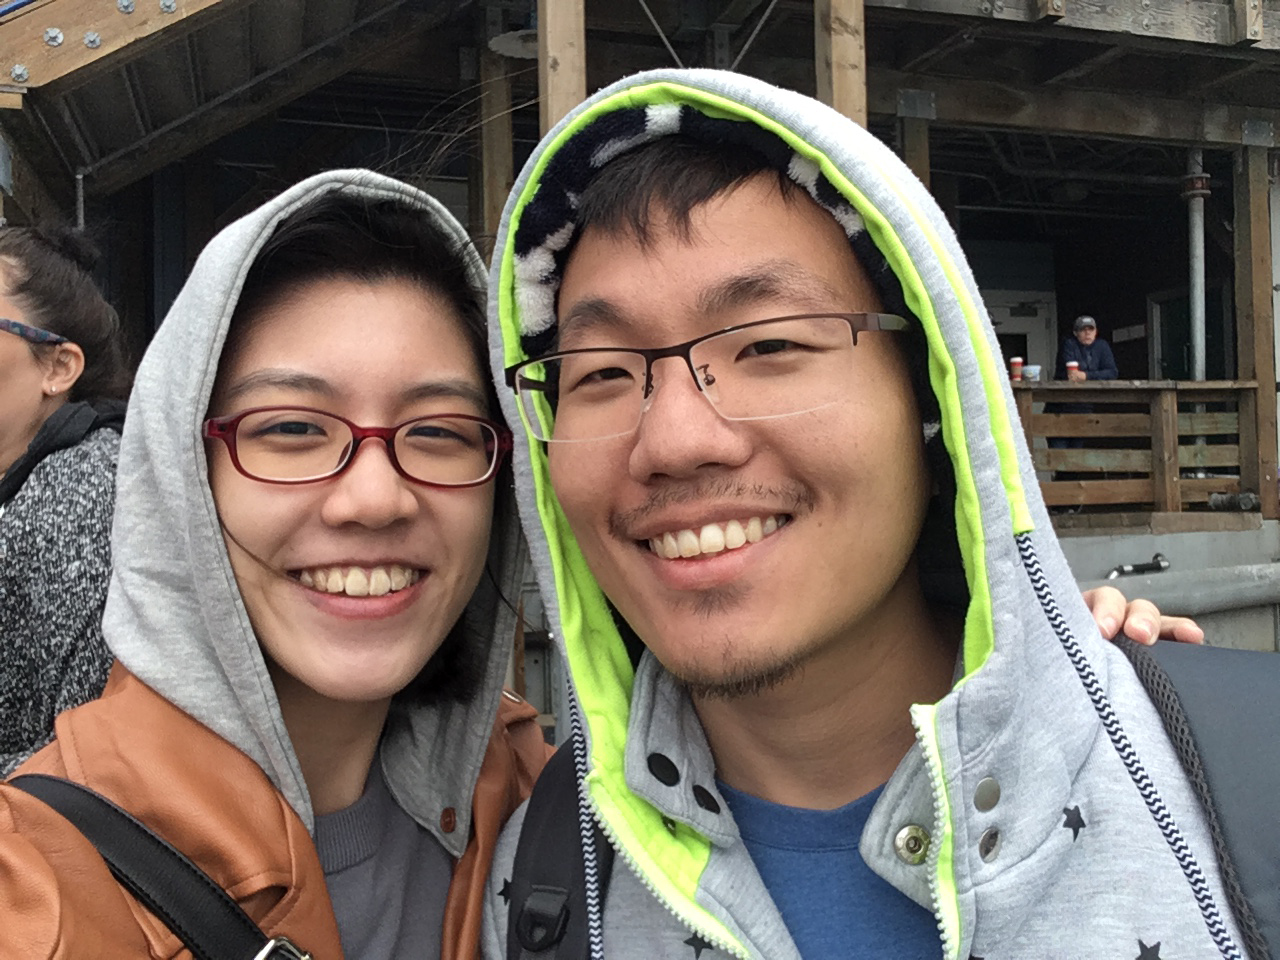
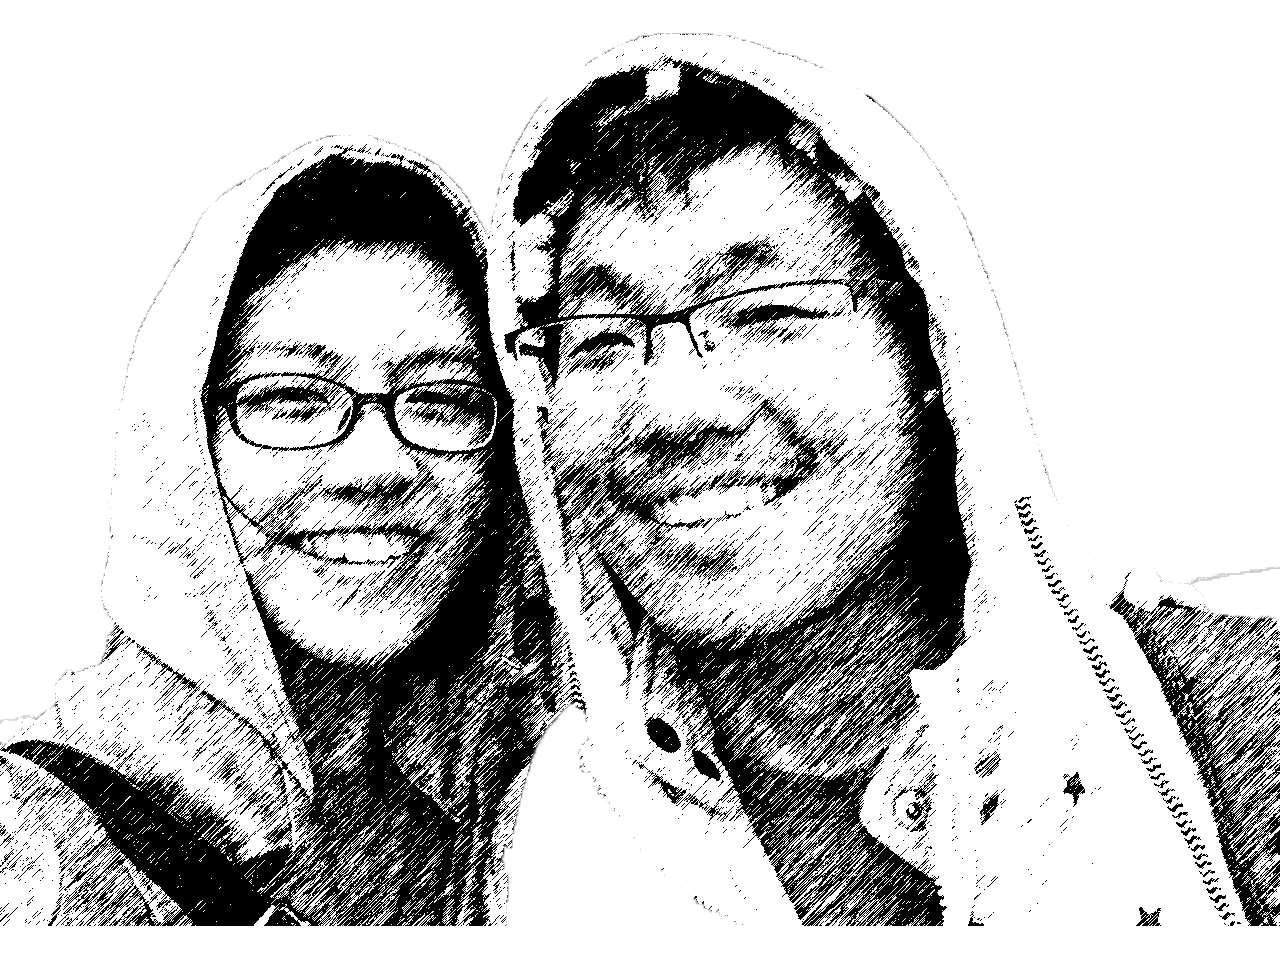
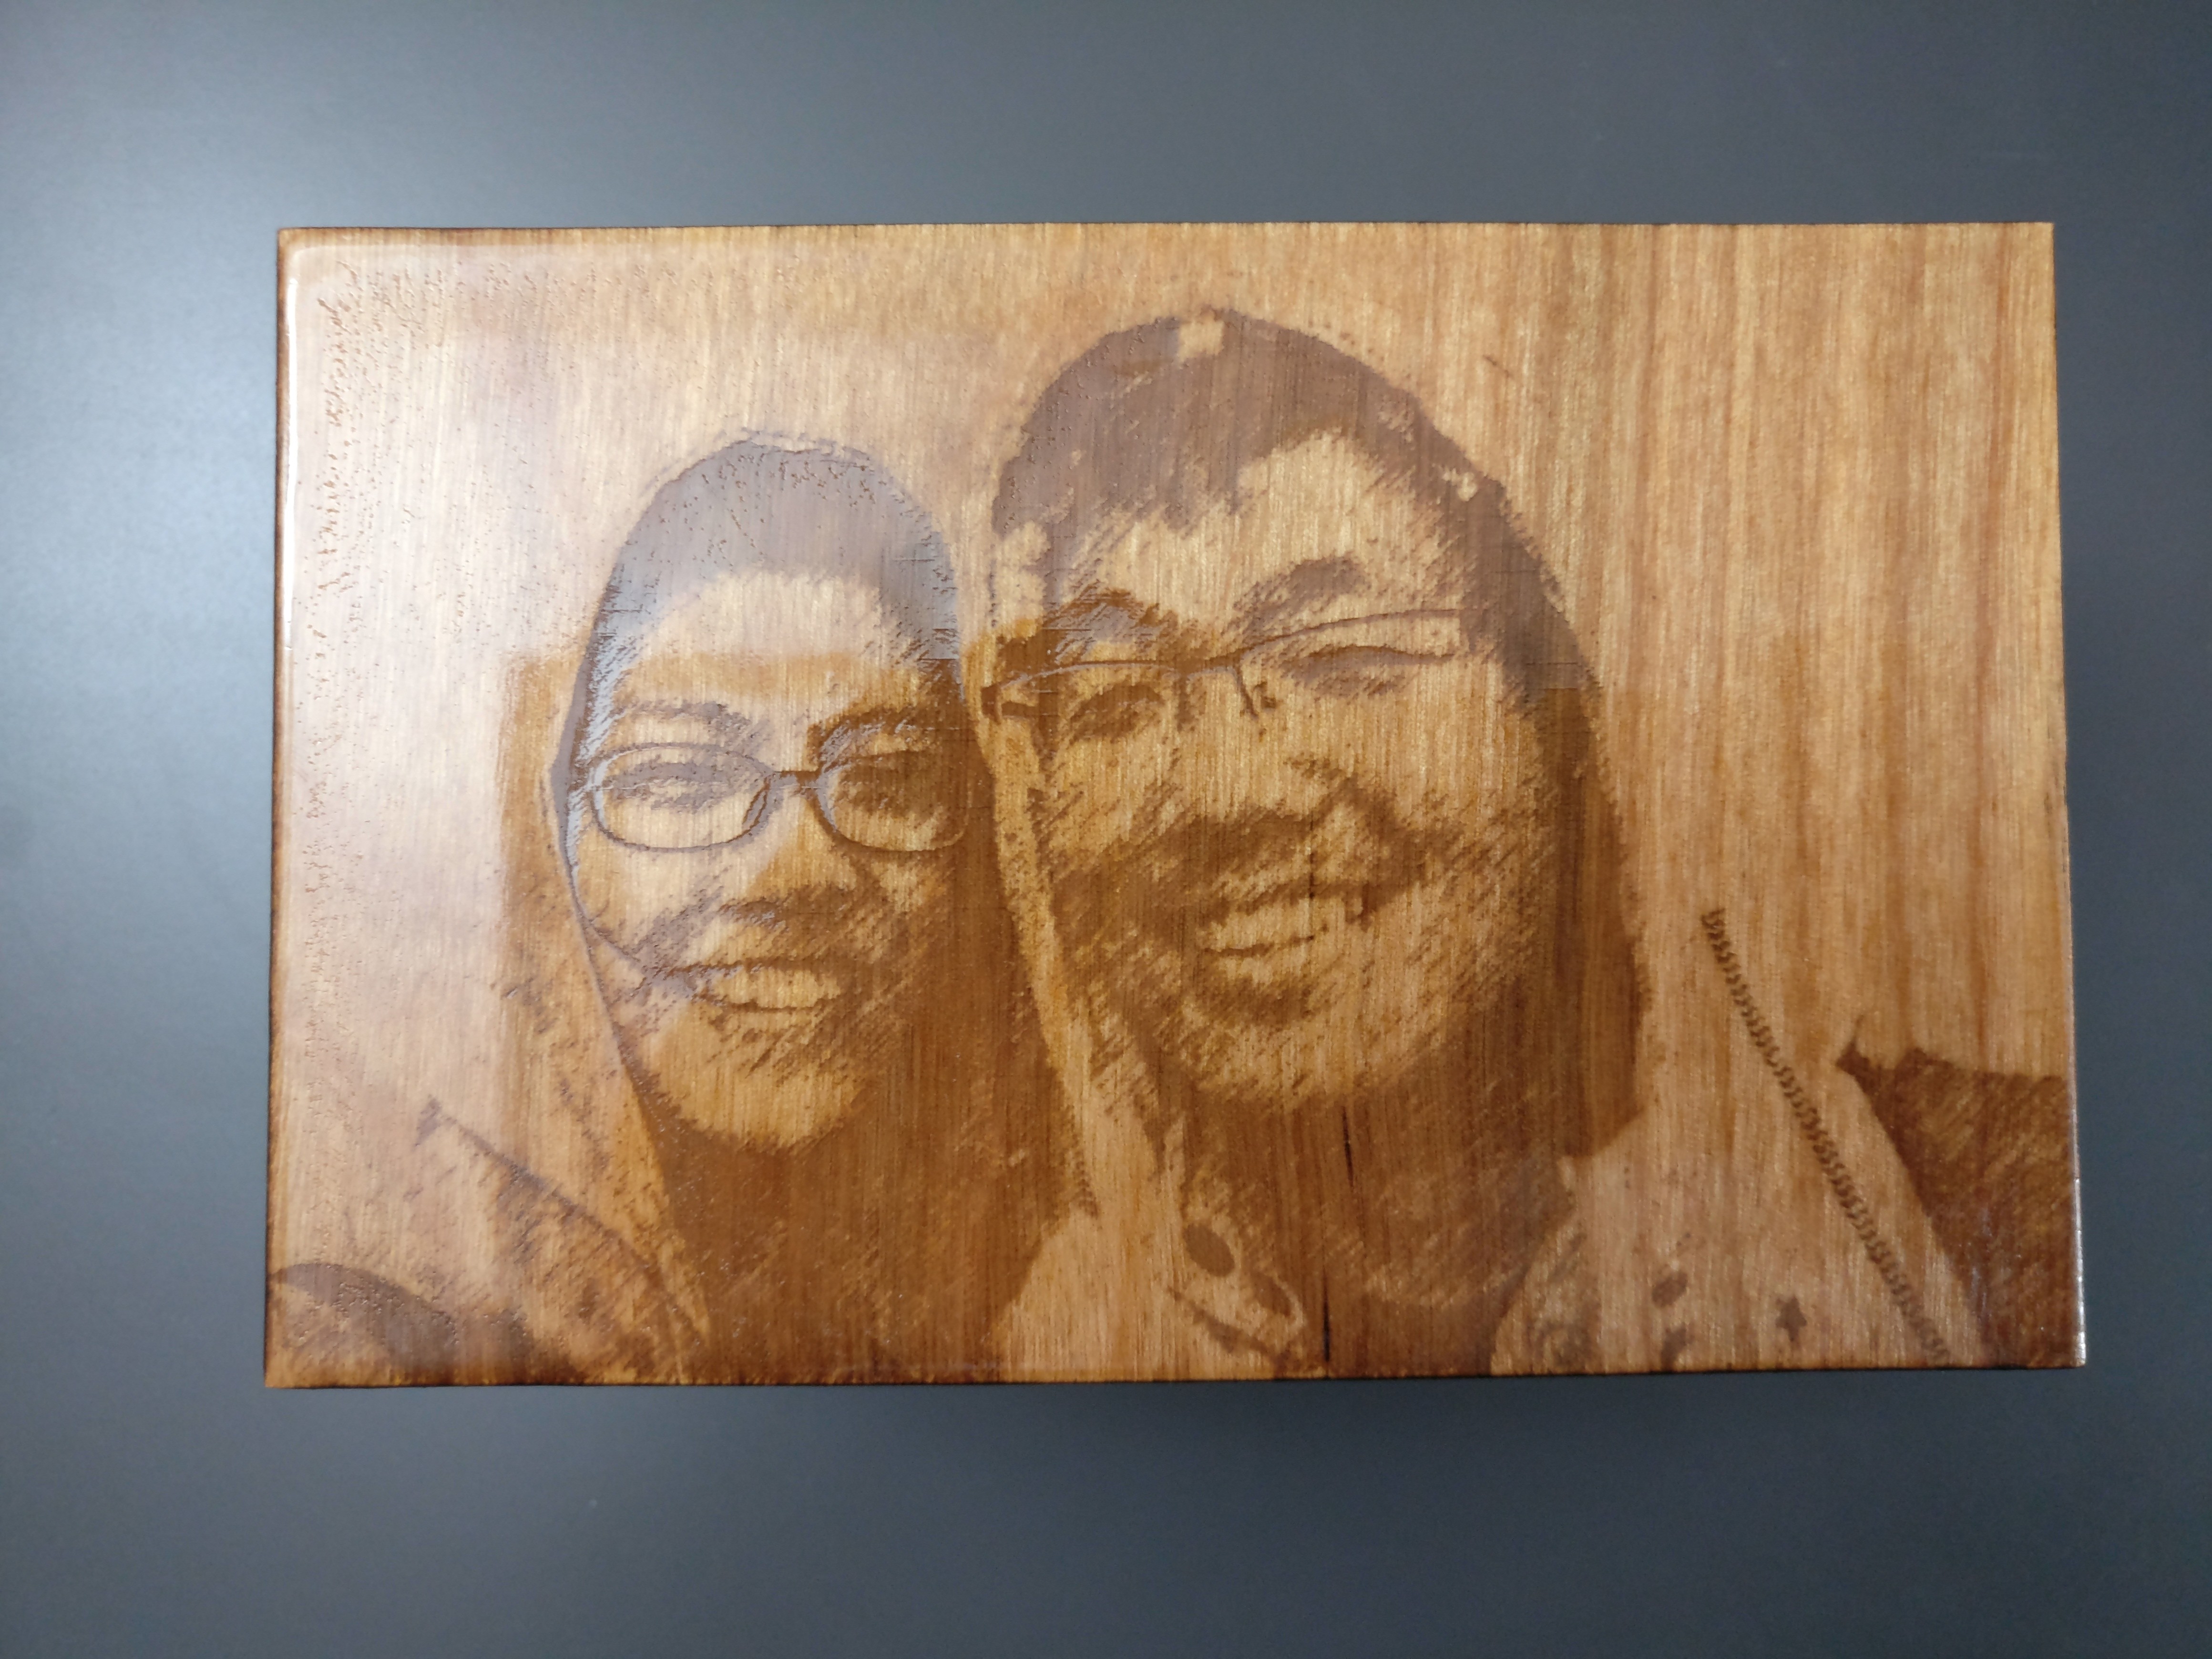
The sides of the box were a little bare, so I decided to laser engrave a picture of us on the top and graphics of sheeps frolicking around on the sides. (Fun fact - Rachel means ewe in Hebrew.) I edited a photo we took this summer in California and cut out the foreground using Photoshop’s “Quick Selection” tool, which is pretty magical.
Original
Cut

I then applied the “Graphic Pen” filter in Photoshop and got a sketch-like effect as shown below.
The sheep vectors were downloaded free from here. I imported the assets into illustrator and converted the images into vectors using the “Image Trace” function. This is important as we want the images to be engraved as a series of lines, rather than an entire blob. The final vector file to be sent for engraving is shown below.

2. Staining Wood
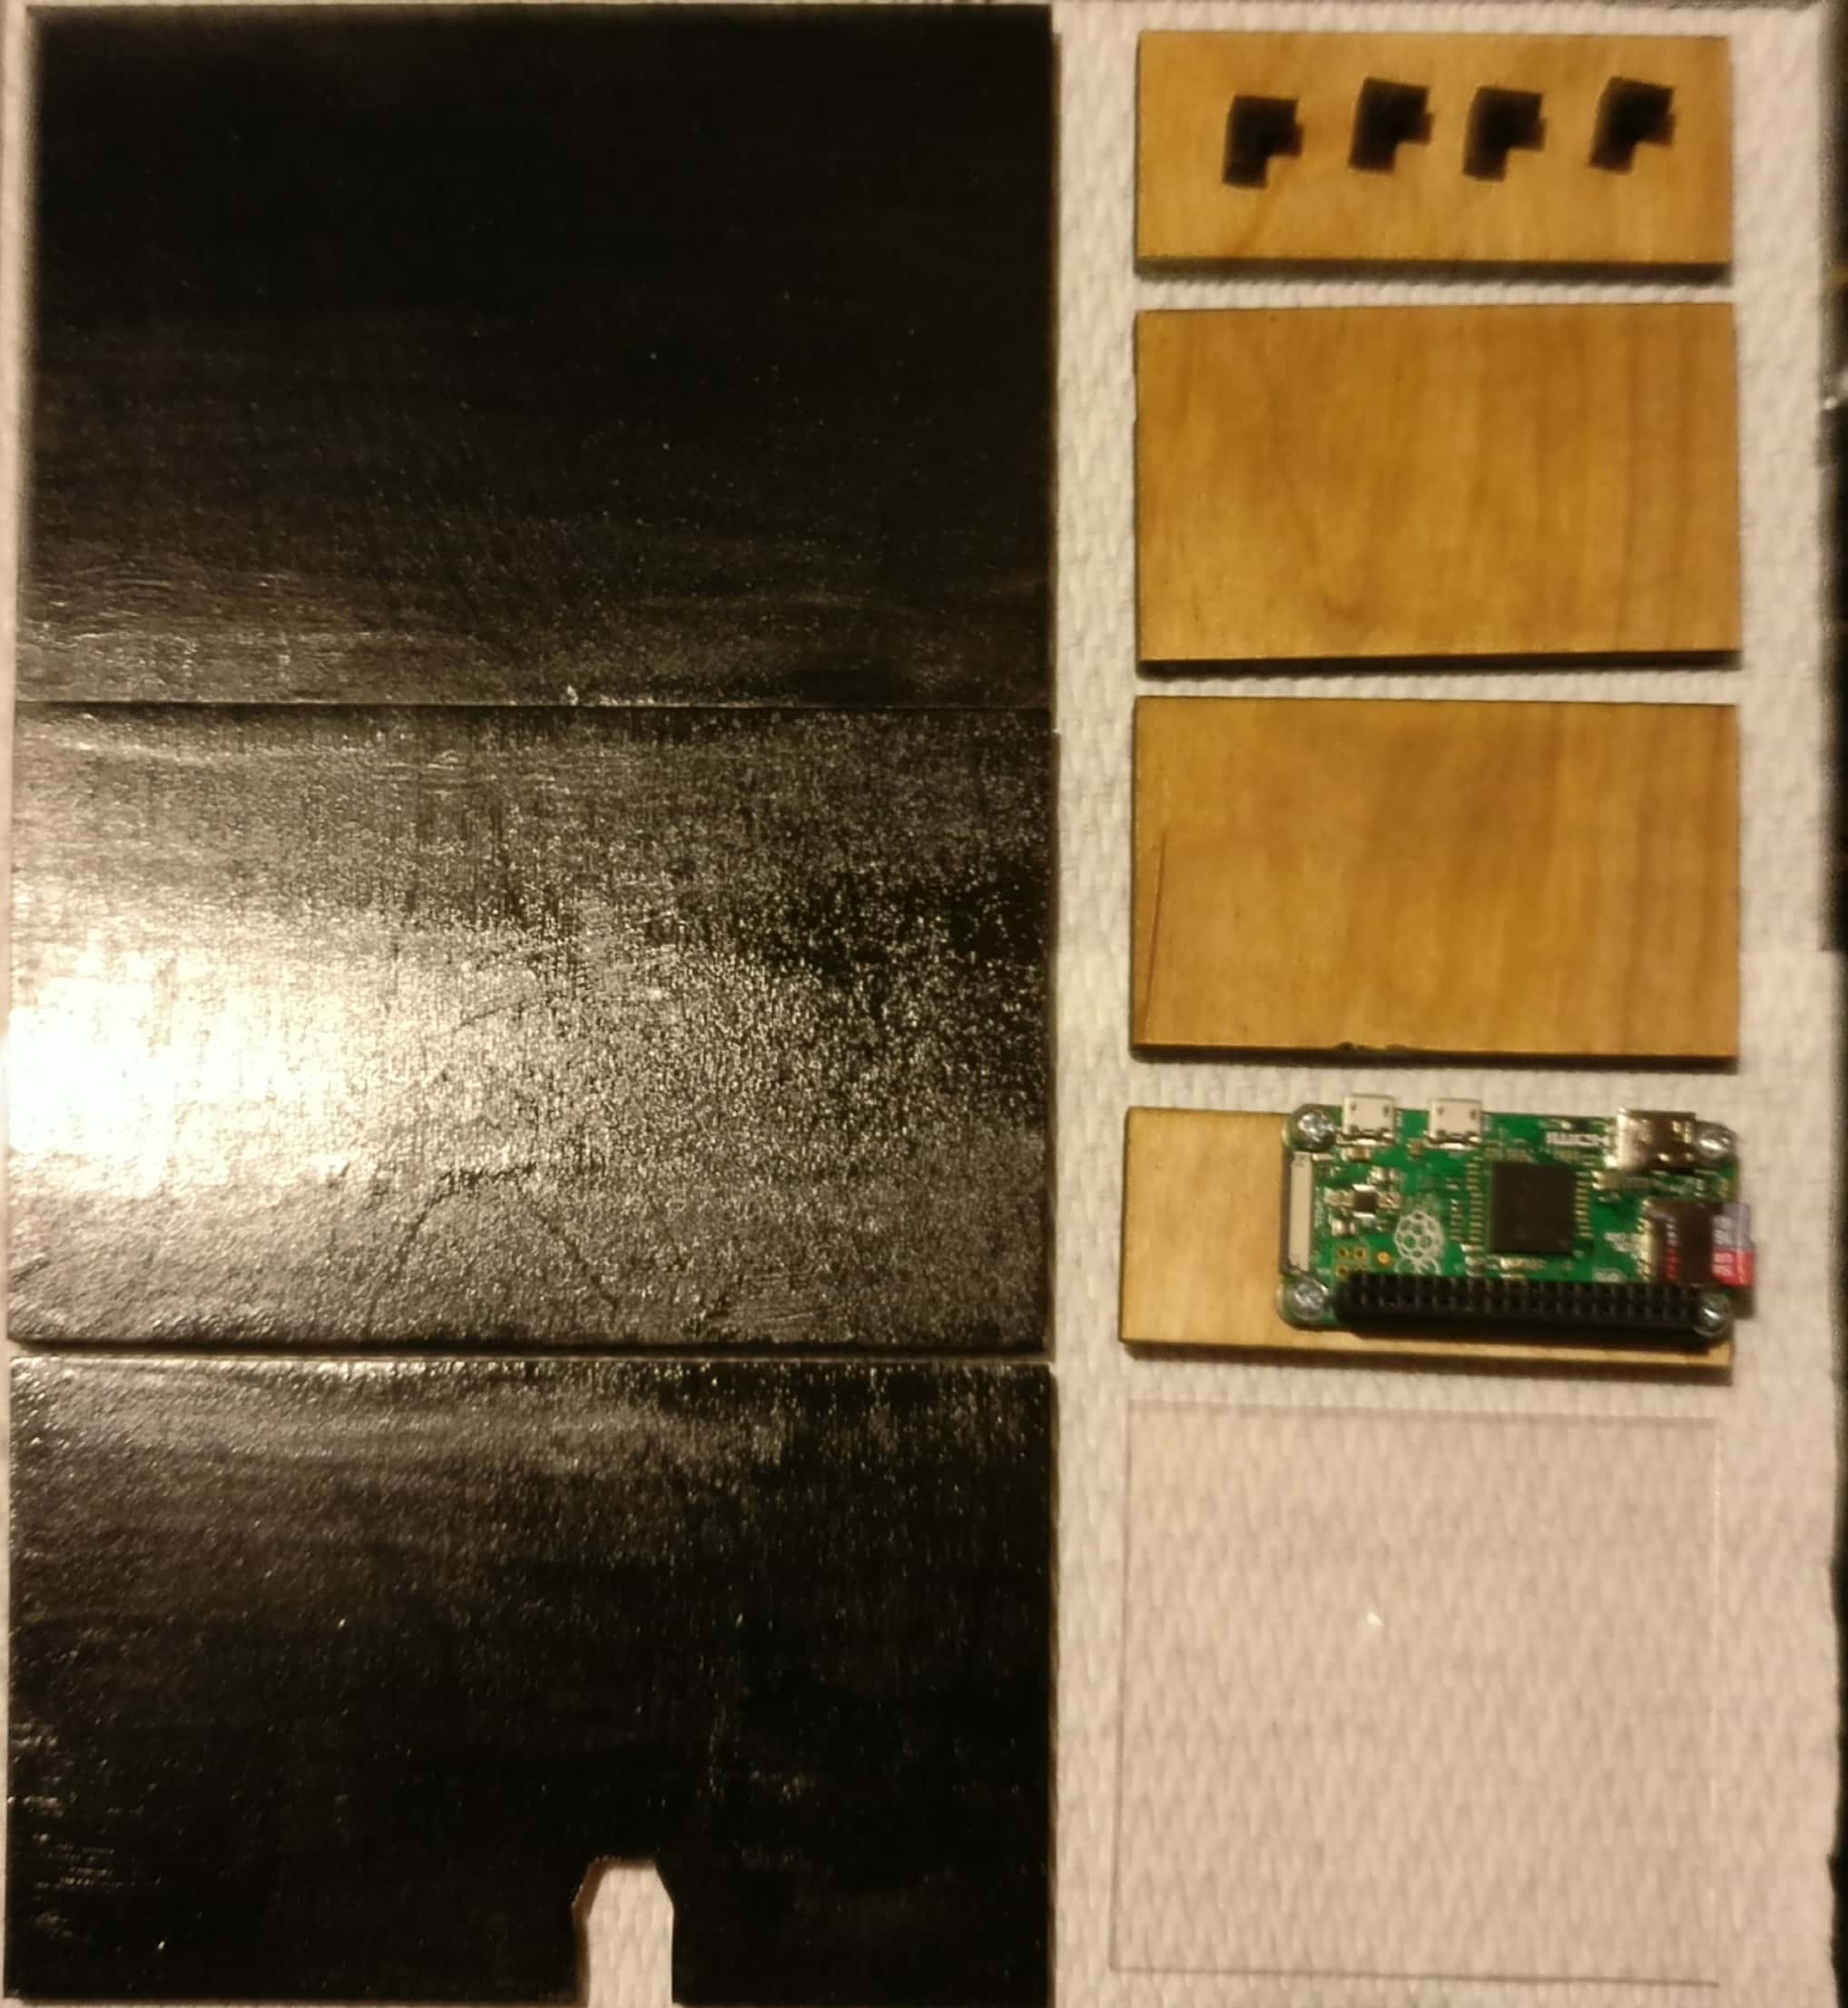
After cutting out the design on birch plywood, I applied wood stain to the top side of each wooden piece so that the grain stands out a little more and the colour is a little richer. Before that, pre-stain has to be applied to prevent blotching. I found that it is better to be generous with the amount of pre-stain you apply. The rationale behind this is that wood absorbs stain unevenly so you kind of saturate it with pre-stain before using actual stain. The actual stain will be more evenly absorbed as a result.
Before staining
After staining
The under side of the wooden pieces are painted over with black paint. These will face inwards, so black paint is used to absorb as much light as possible.
3. Assemble the Box
Once everything is done, it’s time to assemble the box together. Using cotton buds and wood glue, I glued the side walls to the bottom pieces first, then covered it up with the top wall.

There really isn’t a need to apply as much glue as I did but I didn’t know better since it’s my first time using it. Wood glue is surprisingly strong, and it turns transparent when dry.
3. Set up the software
Once the box is assembled, I set up the Raspberry Pi Zero to display a looping 3D animation.
This is just a stock video I found on Youtube for now. If anyone has any interesting ideas of what I can 3D model to achieve the same effect, let me know. I chose to use a Raspberry Pi Zero because it is 5 bucks a pop and I have plenty of experience with it. To connect the Raspberry Pi to the 3.5 inch TFT LCD screen, a special driver has to be used which is linked here. A simpler solution would be to download the pre-installed image and flash the Raspberry Pi with it. Another advantage of using the pre-installed image is that a piece of necessary software named fbcp, which redirects HDMI output to the 3.5inch LCD screen, is pre-installed and automatically starts upon startup. This is extremely convenient as we would otherwise have to manually clone and make the fbcp repository, then set up crontab to run it upon startup.
A small tip for anyone trying to start a video on the Raspberry Pi upon startup is to use a Desktop entry to start the video within a terminal. This has two benefits. First, you gain access to the terminal from within the video is started. If you don’t do this, the video will fill up your entire screen, and you have no way to terminate it because it is started as a background process. The second benefit is that the video will only start when the Desktop has loaded, which eliminates potential timing problems with the video attempting to start before any rendering modules has loaded.
A sample Desktop entry is shown below. You just have to save this file as <task_name>.desktop under /home/<user_name>/.config/autostart.
[Desktop Entry]
Encoding=UTF-8
Name=<Task Name>
Comment=<Task Description>
Exec=lxterminal -e omxplayer --no-osd --win 0,0,480,320 -o both /path/to/video/file.avi --loop
4. Applying finish
Finally, polyurethane is used to finish the wood. This protects the wood and gives it a shiny exterior. Being a total beginner, I had to apply and remove the finish several times before I could get the surface to be kind of even. Generally, the guide is to apply one coat, let it dry, sand over the surface, and then repeat this process three or four times. I read that you should avoid going over the same spot to fix mistakes in the same coat, but I found that it doesn’t really matter if I oversaturate the surface and kind of let the excess distribute itself when drying. I know this is probably not ideal but it seems to give me the best results. The most important thing is to brush slowly and avoid air bubbles from forming. Once done, the box will have a shiny and beautiful surface. If needed, you can polish over the surface using a random orbit sander.
That’s it! I hope you learnt something reading this and don’t be afraid to share the cool stuff you’ve made!
