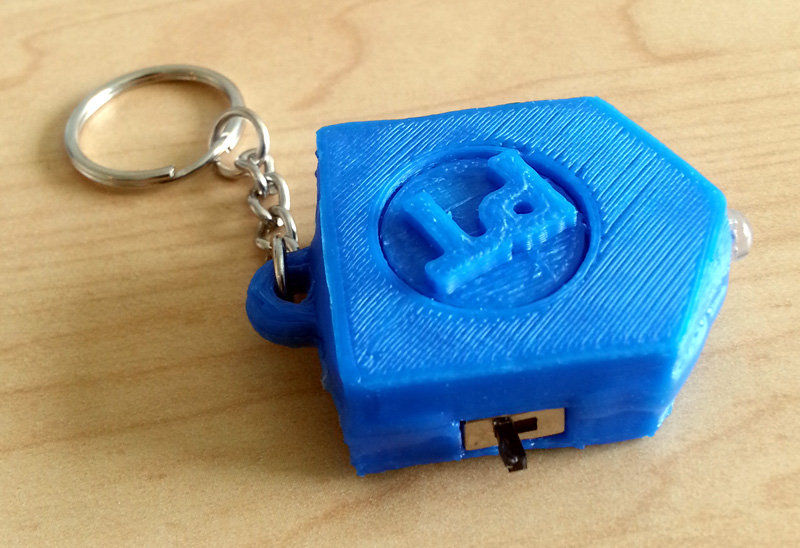
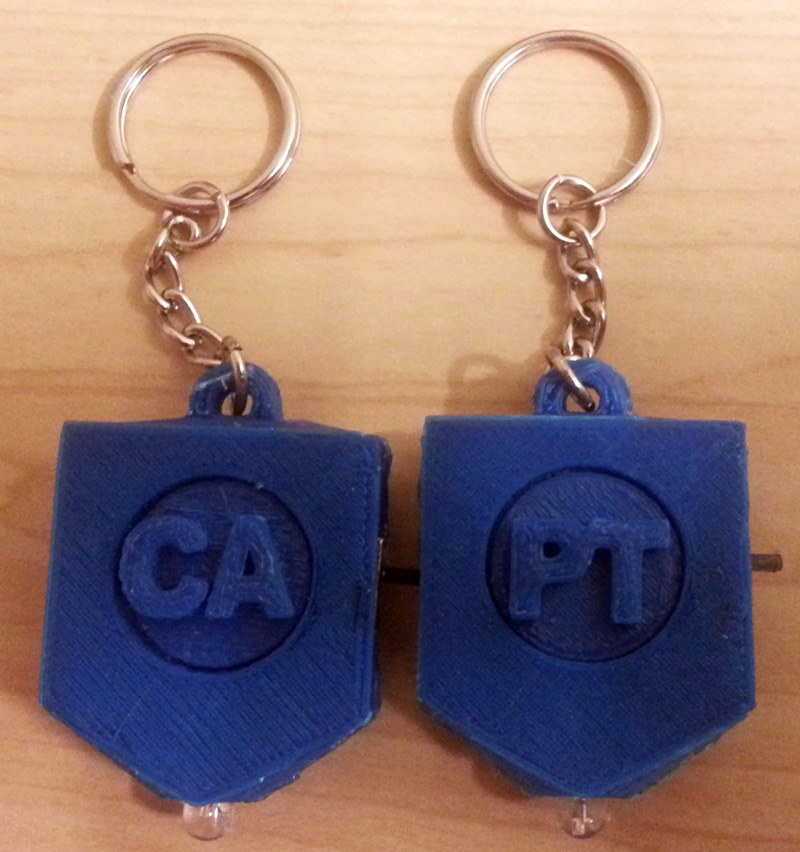
It’s the end of the school semester, and a lot of my seniors in college are leaving this place. It’s sad, but as the Chinese saying goes, there is no banquet that never ends. I wanted to do something so they can remember this place, and I thought what could be better than a small keychain which you can hang on your bag and whenever others ask you about it, you can fondly recount “Back in the days when I was in CAPT…”
So, here I detail the process of designing and making these little things.
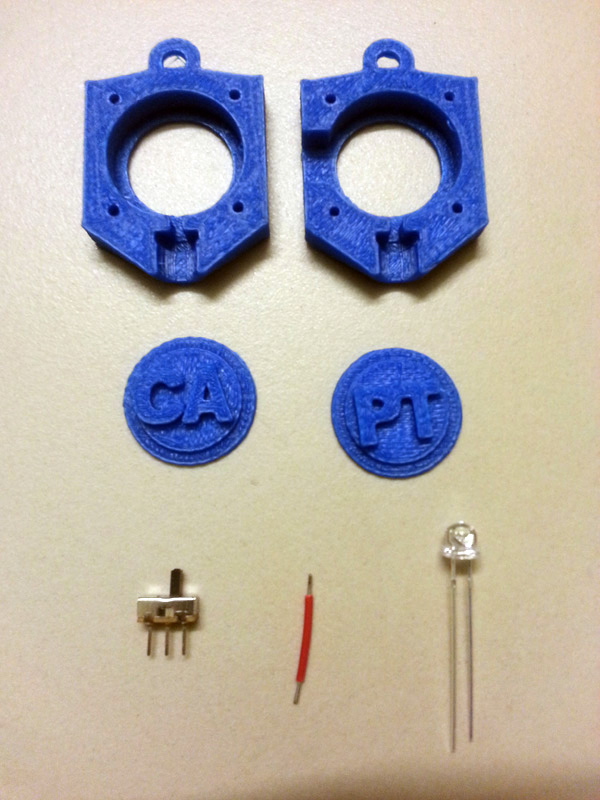
Components used
- Wide-angle white LED
- Switch
- Keychain
- 3D-printed model
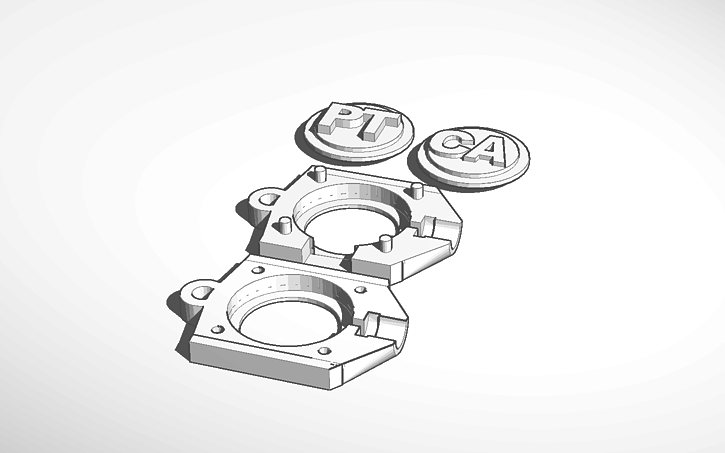
1. Designing the cover
Originally, I wanted to buy a some battery holders and incorporate that into the design, but after walking through Sim Lim Tower for a morning I couldn’t find what I needed, so I decided to 3D-print everything instead. I downloaded a generic keychain flashlight from Thingiverse, and started by designing the plates which will spell out the words CAPT. After tweaking the dimensions and putting holes to hold the switch and the plates, it was ready to print. Going through a few revisions, I eventually got what I wanted.
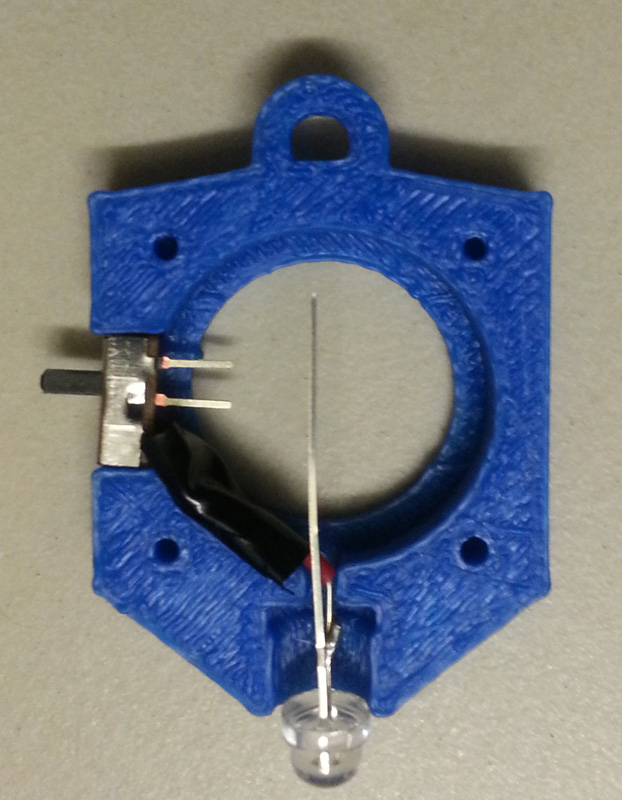
2. Wiring the insides
The insides were pretty simple to setup. I connected one end of the LED to the switch, and the other one will touch the positive end of the button cells. The switch closes the circuit by touching the negative end of the button cells. The end product looked like this.
3. Glueing it together
After this is done, the rest was just putting on the keychain and glueing it together. Special thanks to my friend Yvonne who lent me her glue gun. The finished product is shown below